 Clearwater Roofing
 Why Clearwater Beach Siding Takes More Punishment Than Inland Homes
A home on Clearwater Beach sits in one of the toughest exposure zones in Pinellas County. The Gulf is close enough that salt-laden air reaches the siding every single day, not just during storms. Add in wind-driven rain that gets pushed sideways into wall assemblies, near-constant UV exposure that never really lets up even in winter, and the higher wind loads that come with barrier island construction, and it's easy to see why siding here ages differently than siding a few miles inland.
Salt air is corrosive to fasteners and hard on any siding material that isn't built to handle repeated wet-dry cycling. UV breaks down pigments and surface coatings faster at this latitude than in most of the country. And wind-driven rain doesn't just hit the face of the siding — it finds its way into laps, seams, and any gap around trim, windows, or penetrations. Repairing siding correctly here means understanding all three of these forces, not just patching what's visible from the street.
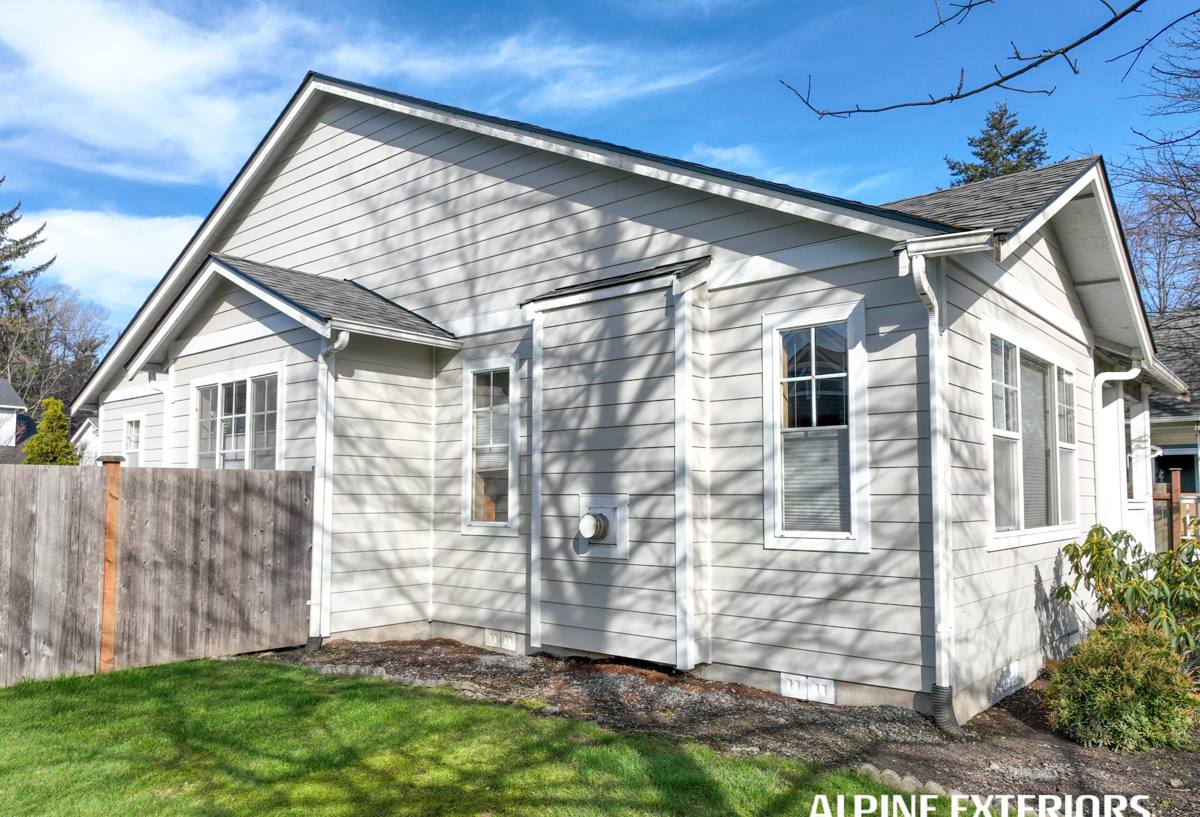
Recognizing When Clearwater Beach Siding Needs Repair
Early Warning Signs
Most siding problems on beachfront homes don't start as obvious damage. They start small and get worse because the underlying cause — usually moisture getting behind the siding — keeps working even after the surface looks fine again. Homeowners should watch for:
- Panels that look slightly warped, bowed, or separated at the seams
- Soft or spongy spots when you press on the siding near the bottom courses or around windows
- Paint or finish that's peeling, bubbling, or chalking faster than the rest of the house
- Staining or streaking that keeps returning even after cleaning
- Cracked or missing caulk at trim boards, corners, and penetrations
- Visible fastener corrosion or rust streaks running down from nail heads
When It's More Than a Patch
Not every issue calls for wholesale replacement, but some do. If moisture has been getting behind the siding for a while, the sheathing or framing underneath can be affected, and a cosmetic patch over that kind of damage doesn't fix anything — it just hides it until the next storm season. Part of an honest repair visit is telling a homeowner when a small area actually needs to come off so we can see what's happening behind it, rather than just caulking over a symptom.
What a Correct Siding Repair Actually Involves
A repair that's done right on a Clearwater Beach home goes beyond swapping a cracked panel. It starts with figuring out why that panel failed in the first place — was it impact damage, a caulking failure that let water in, a fastening problem, or long-term UV and salt exposure wearing down the finish? Skipping that step means the same failure just shows up again in a year or two.
Diagnosing the Cause
We look at the damaged area and the surrounding siding together. If there's any sign of moisture intrusion, we check the condition of the water-resistive barrier and sheathing behind the panel before closing anything back up. On a barrier island home, we're also checking whether the damage pattern lines up with wind-driven rain exposure on that particular elevation, since the Gulf-facing side of a house often needs different attention than the street side.
Matching Material and Finish
When we're replacing sections of James Hardie siding, matching the existing profile, plank width, and ColorPlus finish matters — mismatched panels stand out immediately and can also behave differently under the same UV and salt exposure. We source replacement material that matches the existing product line whenever possible so the repair blends in and ages consistently with the rest of the home.
Fastening and Sealing for the Exposure
Correct fastener spacing and type matter more here than in a lot of the country, given the wind loads a beachfront property can see. We also pay close attention to flashing and sealant details around windows, doors, and penetrations, since that's where wind-driven rain most often finds a way in.
Repair or Replace: Weighing the Real Factors
Every siding call is a little different, but these are the factors that generally decide whether a repair makes sense or whether it's time to talk about a full re-side.
| Factor | Favors Repair | Favors Replacement |
|---|---|---|
| Extent of damage | Isolated to one or two areas | Spread across multiple elevations |
| Moisture history | No sign of intrusion behind panels | Evidence of water intrusion or soft sheathing |
| Age of existing siding | Relatively young, still under warranty | Near or past expected service life |
| Material behind the damage | Fiber cement in good condition | Material prone to swelling, rot, or repeated failure |
| Finish condition | Color and texture still consistent | Widespread fading, chalking, or peeling |
This is a general guide, not a diagnosis — the only way to know for sure is a hands-on inspection of the specific home.
Why We Repair and Replace Exclusively With James Hardie Fiber Cement
We install and repair siding with James Hardie fiber cement, and we don't work with vinyl, LP SmartSide, Cemplank, Allura, or wood products like primed spruce or cedar. That's a deliberate standard, not a brand preference for its own sake.
Fiber cement doesn't swell, rot, or provide a food source for pests the way wood-based products can, which matters in a humid coastal environment where moisture is almost never far away. It's non-combustible, which is a genuine safety advantage. And James Hardie's ColorPlus factory finish is engineered to hold up to UV exposure better than field-applied paint, which matters enormously on a site where the sun is doing damage twelve months a year. Hardie's HZ product lines are also climate-engineered specifically for humid, coastal conditions like ours, which is a meaningfully different design target than siding built for a drier or milder climate.
When a repair reveals that a section — or eventually a whole elevation — needs to be replaced rather than patched, our recommendation is Hardie fiber cement, backed by its transferable warranty, because it's the product we trust to actually hold up to what Clearwater Beach throws at it.
Our Siding Repair Process for Clearwater Beach Homes
- Inspection: We walk the exterior, examine the damaged area and surrounding siding, and check for signs of moisture intrusion.
- Diagnosis: We identify the root cause — impact, sealant failure, fastening issue, or long-term wear — rather than assuming a straight cosmetic fix.
- Scope and estimate: We explain what needs to happen, why, and give a clear, honest estimate before any work starts.
- Repair: Damaged panels or trim are removed, the substrate is checked, any needed barrier or flashing repairs are made, and new matching material is installed to spec.
- Sealing and finish check: Joints, trim, and penetrations are sealed correctly for wind-driven rain exposure, and the finish is checked for a clean color and profile match.
- Walkthrough: We review the completed repair with the homeowner before we consider the job done.
Why a Crew That Already Works Clearwater Beach Matters
Barrier island homes come with details that don't always show up on an inland job. Many properties here are governed by condo associations or HOAs with their own exterior approval processes, and permitting through the City of Clearwater or Pinellas County can involve wind-zone and flood-elevation considerations specific to beachfront construction. A crew that regularly works this area already understands those layers and isn't learning them for the first time on your project.
There's also a practical, on-the-ground reason it matters: a contractor who sees Clearwater Beach siding failures regularly recognizes the difference between a cosmetic issue and an early sign of moisture intrusion faster, because they've seen the pattern before on homes with the same exposure. That experience shortens the time between "something looks off" and an accurate diagnosis.
Maintenance Between Repairs
Good maintenance won't eliminate the need for repairs on a beachfront home, but it slows down how often they're needed and helps catch problems while they're still small.
- Rinse salt residue off siding periodically, especially after storms with onshore wind
- Inspect caulk lines around windows, doors, and trim at least once a year and reseal where it's cracked or missing
- Trim back vegetation that traps moisture against the siding
- Check for and clear any debris buildup at the bottom courses after storms
- Have the exterior inspected after any significant wind event, even if no damage is obvious from the ground
- Address small issues promptly rather than waiting for the next season
Ready for a Straight Answer on Your Siding
If your Clearwater Beach home has siding that's showing wear, storm damage, or signs of moisture behind the surface, we're happy to take a look and give you an honest read on what it actually needs. Request a free, no-pressure estimate using the form below and we'll walk you through it.