 Clearwater Roofing
 Building Decks for a Waterfront Island Neighborhood
Island Estates sits differently than most of Clearwater. It's a waterfront community surrounded by canals and open water, which means every outdoor structure on the property — decks included — deals with a heavier dose of what Pinellas County's coastline throws at a home: salt-laden air moving off the water, direct sun for most of the day, wind-driven rain, and the occasional hurricane-force gust that tests every fastener and footing you've got. A deck built to a generic spec sheet might hold up fine a few miles inland. On an island lot, the same deck can start showing corrosion, board cupping, or loose railings within a couple of seasons if it wasn't built with that exposure in mind.
This page is about custom deck building and repair specifically for Island Estates homes — what the site conditions actually demand, how we build to handle them, and what our process looks like from first estimate to finished project.
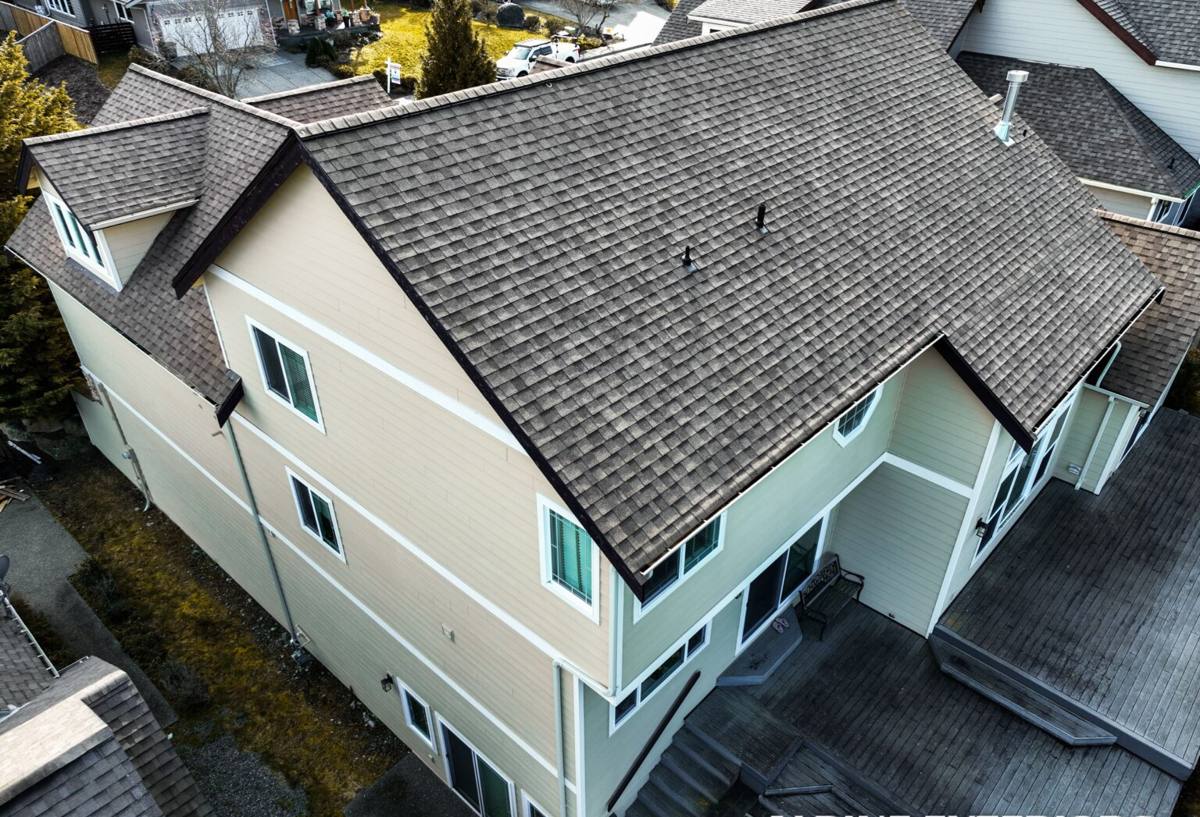
What Waterfront Exposure Actually Does to a Deck
It helps to be specific about what "salt air" and "coastal exposure" mean for a wood or composite structure, because the failure modes aren't abstract — they're predictable and preventable if you plan for them up front.
Salt Air and Metal Corrosion
Airborne salt accelerates corrosion on any exposed metal — nails, screws, joist hangers, bolts, railing brackets. On a canal-front lot, that process moves faster than it would even a mile or two away. Standard galvanized hardware can start rusting and staining decking within a year or two in this kind of environment. It's one of the most common reasons we get called out to look at a deck that's only five or six years old and already has streaking, loose connections, or a soft spot where a fastener let go.
Sun and UV Breakdown
Florida sun is intense nearly year-round, and a deck with open water nearby gets extra UV bounce off the surface. Untreated or poorly finished wood grays and checks faster; lower-grade composite can fade unevenly, especially on the side that gets the most afternoon exposure. Color and material choice matter more here than in a shaded, inland yard.
Wind-Driven Rain and Moisture Cycling
Decks near open water take rain from more angles, not just straight down. That means ledger boards, end grain, and framing connections get wetted more often and from more directions, which speeds up rot in untreated wood and accelerates any hidden corrosion in fasteners. A deck that isn't detailed with proper flashing and drainage in mind will trap that moisture instead of shedding it.
Hurricane and High-Wind Loading
Clearwater sits in a hurricane-exposed region, and waterfront and island properties generally see higher sustained wind and gust loads than sheltered inland lots. Railings, stair connections, and the ledger-to-house attachment are the parts of a deck most likely to fail under wind load if they weren't built to current standards — and they're also the parts most often shortcut on a low-bid job.
Choosing the Right Decking Material
There's no single "best" decking material for every Island Estates project — it depends on budget, how close the deck sits to the water, how much maintenance the homeowner wants to take on, and the look they're after. Here's how the common options actually compare under this kind of exposure.
| Material | Salt Air / Moisture Behavior | Maintenance | Typical Lifespan Here |
|---|---|---|---|
| Pressure-treated pine | Needs sealing to resist moisture cycling; fasteners are the weak point | Annual cleaning, re-seal every 1-2 years | 10-15 years with upkeep |
| Tropical hardwood (e.g., ipe) | Naturally dense and rot-resistant; still benefits from periodic oiling | Oil/seal every 1-2 years to hold color | 20-25+ years |
| Capped composite | Excellent moisture and salt resistance; won't rot or splinter | Occasional washing, no sealing | 25-30 years |
| PVC decking | Fully moisture-proof, handles direct water exposure best | Lowest — soap and water | 25-30+ years |
On lots with heavy water exposure or a deck built low over a seawall or dock area, we lean homeowners toward capped composite or PVC — the moisture resistance is worth the higher upfront cost when the alternative is refinishing real wood every year or two. For homes set back further from the water, a well-built and properly maintained wood deck is still a solid, more budget-friendly choice. We'll walk through the honest trade-offs — cost, feel underfoot, maintenance commitment, appearance — rather than push one product line.
Why We Don't Cut Corners on Composite Substructure
Composite and PVC decking boards are only as good as what's underneath them. We still frame with pressure-treated or better joists and beams sized for the actual load and span, not the minimum the board manufacturer's warranty happens to allow. A composite deck surface on an undersized or poorly fastened frame will fail at the frame long before the boards themselves wear out.
Framing and Fasteners: Where Decks Actually Fail
Most deck failures we see on service calls aren't about the decking boards — they're about what's holding the structure together. This is the part of the job that matters most in a salt-air environment and the part that's easiest for a corner-cutting crew to shortchange because it's mostly invisible once the boards go down.
- Stainless steel or coated structural screws and hidden fastener systems instead of standard galvanized nails, especially anywhere close to the waterline
- Corrosion-resistant joist hangers and structural connectors rated for exterior/coastal use
- Properly flashed ledger board attachment to the house, with a drainage gap so water doesn't sit against the siding or rim joist
- Through-bolted railing posts rather than surface-mounted brackets, for the wind and lateral loads a waterfront deck sees
- Footings sized and set to local frost-free, load-bearing depth requirements — not just poured to "what's always worked"
- Joist spacing tightened up where composite or PVC boards are used, per that product's span rating
None of this is exotic. It's standard, correct residential deck construction — but it only shows up on a job when the crew builds it in from the start, because most of it gets buried under decking and railing before the homeowner ever sees it.
Permitting and Local Requirements
Deck construction in Clearwater and Pinellas County requires a building permit and inspection, and waterfront lots can carry additional considerations — setback distances from the water or seawall, and in some cases flood zone or elevation requirements that affect how the structure is framed and attached. We handle the permit application and coordinate the required inspections as part of the job, so the homeowner isn't the one chasing down paperwork or explaining engineering details to the county. If your lot has any waterfront-specific restrictions, we identify those during the initial site visit, before design work starts, so there are no surprises once the permit is submitted.
Our Process, Start to Finish
1. Site Visit and Estimate
We look at the actual lot — proximity to water, existing structure condition if this is a rebuild, drainage, sun exposure, and how the space will actually be used — and put together a written estimate with material options explained plainly.
2. Design and Material Selection
We finalize layout, decking material, railing style, and any features like built-in seating or multi-level design, matched to budget and to how the deck will hold up given the site's exposure.
3. Permitting
We prepare and submit the permit package and schedule the required inspections with the county.
4. Demolition (Rebuilds Only)
For replacement projects, we remove the old structure and inspect the ledger attachment and any framing that will be reused, flagging anything that needs to be addressed before new construction starts.
5. Framing
Footings, posts, beams, and joists go in first, built to the load and fastener standards described above — this is the stage that determines how the deck performs for the next two decades, not just how it looks on day one.
6. Decking, Railing, and Stairs
Decking boards, railing systems, and stairs are installed and detailed, including any trim or skirting to finish the look.
7. Final Inspection and Walkthrough
We coordinate the final county inspection and walk the finished deck with the homeowner before calling the job complete.
Railings, Stairs, and Waterfront Details
On a canal-front or open-water lot, railings do double duty — safety and daily wear from wind and salt exposure. Aluminum and cable railing systems hold up well here because they don't rot, don't need refinishing, and resist corrosion better than lower-grade painted metal. Wood and composite railing systems work too, but need the same fastener attention described above, particularly at post connections, which take the most lateral load in high wind.
Stairs leading down toward a dock or seawall see more foot traffic in wet conditions than stairs on an inland deck, so we pay close attention to tread material and slip resistance in those cases, not just matching the decking above.
Maintaining a Deck in This Climate
Even a well-built deck needs some upkeep to get its full lifespan out of a waterfront environment. A short seasonal routine goes a long way:
- Rinse salt residue off the deck surface and railings periodically, especially after storms with onshore wind
- Check railing posts and stair connections for looseness once or twice a year
- Inspect fasteners and hardware for early rust staining, which is easier and cheaper to address early than after it spreads
- Re-seal or oil wood decking on the schedule appropriate to that material — don't wait until it's visibly gray and dry
- Keep gutters and downspouts near the deck clear so runoff isn't dumping extra water onto the structure
- After any named storm, do a quick visual check of railings and stair connections before heavy use
Why Local Experience on This Island Matters
A deck built to a generic spec sheet, by a crew that doesn't normally work waterfront properties, is where a lot of the problems described above come from. Building on Island Estates means accounting for the site conditions from the design stage on — material selection, fastener grade, and framing detail aren't afterthoughts, they're the first decisions we make. It also means understanding the practical side of working on an island lot: coordinating deliveries and equipment access sensibly, being mindful of neighboring waterfront properties during construction, and knowing what Pinellas County's permitting process actually requires for this kind of location before the job starts, not after a delay comes up mid-project.
If you're planning a new deck, a rebuild, or repairs to an existing one in Island Estates, we're happy to take a look and put together a straightforward, no-pressure estimate — just fill out the form below.