 Clearwater Roofing
 Siding Repair Built for Downtown Clearwater's Coastal Conditions
Homes in Downtown Clearwater sit close enough to the Gulf and Old Tampa Bay that salt air, humidity, and sun exposure work on exterior siding every single day of the year — not just during storm season. Add in the wind-driven rain that comes with Pinellas County's summer thunderstorms and the occasional hurricane threat, and it's easy to see why siding here ages differently than siding fifty miles inland. A repair that ignores these conditions tends to fail again within a year or two. A repair that accounts for them can extend the life of your siding system for decades.
This page covers what siding repair actually involves for Downtown Clearwater properties, the damage patterns we see most often in this area, and how our process is built around getting it right the first time.
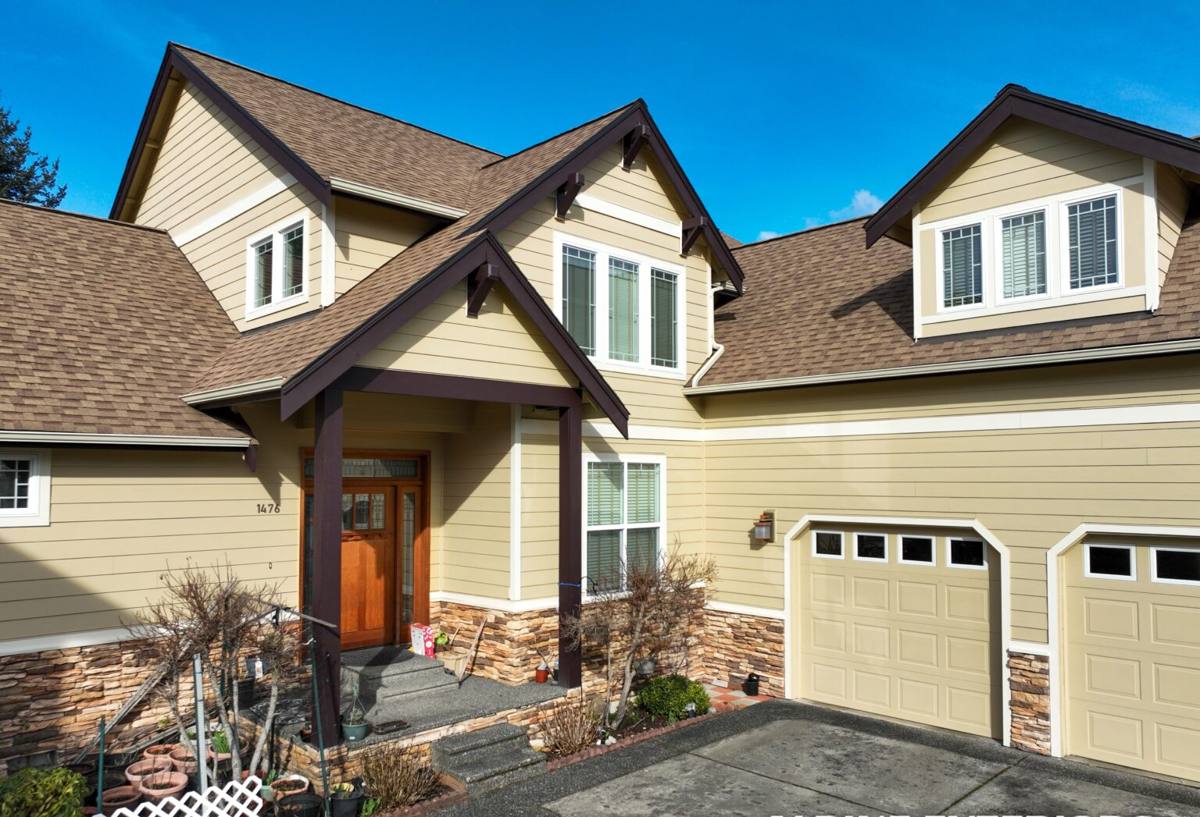
Why Siding Fails Faster Near Downtown Clearwater
Several environmental factors combine in this part of Clearwater to accelerate wear on exterior siding, regardless of what material it's made from:
- Salt air corrosion: Airborne salt from the Gulf and the bay settles on exterior surfaces and fasteners, accelerating rust on nails, screws, and any exposed metal trim.
- Intense UV exposure: Florida's near-constant sun breaks down paint film, caulking, and lower-grade siding substrates faster than in most other regions of the country.
- Wind-driven rain: Storms here rarely fall straight down. Wind pushes rain sideways into seams, laps, and butt joints, which is where most moisture intrusion starts.
- Humidity and moisture cycling: Siding that stays damp longer between rain events is more prone to swelling, delamination, or rot at vulnerable points, especially where paint has failed.
None of these forces act alone. A cracked caulk joint from UV exposure becomes a moisture entry point during the next wind-driven rain event, and that moisture sits longer because of the humidity — which is exactly how a small cosmetic issue turns into a structural repair if it's left alone.
Common Siding Repair Needs We See in This Area
Storm and Wind Damage
High wind events can crack, loosen, or completely dislodge siding panels, particularly along corners and edges where wind pressure concentrates. Even when panels don't blow off, wind can work fasteners loose over time, leaving panels rattling or slightly out of alignment — an early warning sign that shouldn't be ignored.
Moisture Intrusion and Soft Spots
This is the most serious category of siding repair, and the most common one we're called out for downtown. Once water gets behind siding through a failed seam, damaged caulk, or a gap around a window or door, the underlying wall assembly can start to degrade before any exterior sign appears. By the time a soft spot or discoloration shows up on the surface, there's often more damage behind it than the homeowner expects.
Cracked, Chipped, or Delaminating Panels
Impact damage, age, and UV breakdown can all cause siding panels to crack or chip. On lower-quality composite or engineered wood products, prolonged moisture exposure can cause the panel itself to swell and delaminate — a failure mode that's very different from a simple crack and requires full panel replacement rather than a patch.
Failed Caulking and Sealant Joints
Every seam, corner, and penetration point in a siding system relies on sealant to stay watertight. Florida's UV load breaks down lower-grade caulk faster than in milder climates, and once it cracks or shrinks away from the joint, it stops doing its job even though it may still look intact from a distance.
Fastener and Trim Corrosion
Salt air speeds up corrosion on exposed nail heads, trim fasteners, and metal flashing. Rust streaks running down from a fastener are a sign that the fastener itself is failing, which can eventually let a panel work loose.
What a Correct Siding Repair Actually Involves
A proper siding repair isn't just about matching the damaged section and covering it up. It starts with figuring out why the damage happened, because a repair that doesn't address the cause will fail again.
- Diagnose the cause, not just the symptom. A cracked panel might be impact damage, or it might be a sign the panel was improperly fastened and is flexing in the wind. Those get repaired differently.
- Check for hidden moisture damage. Any repair near a soft spot, stain, or failed seam should include an inspection of what's underneath — sheathing, house wrap, and framing — before new siding goes back up.
- Address the water management detail, not just the panel. Flashing, kick-out details, and proper lap sequencing matter more to long-term performance than the panel material itself.
- Match material and finish correctly. Mismatched panel thickness, texture, or color creates a visible patch and can also create a performance mismatch between old and new material.
- Reseal and refasten to spec. Using the correct fastener type, spacing, and sealant for the specific product line is what keeps a repair from becoming a repeat visit.
Our Repair Process
We approach every siding repair call in Downtown Clearwater the same structured way, whether it's a single damaged panel or a section that needs a broader assessment:
1. On-Site Inspection
We look at the damaged area and the surrounding siding, because visible damage in one spot is often a symptom of a condition affecting a wider section — failed caulking along an entire wall, for example, rather than just the one joint that finally cracked.
2. Honest Scope Recommendation
We'll tell you plainly whether you're looking at a spot repair, a section replacement, or something bigger. If we find moisture damage behind the siding, we explain what that means before any repair work starts, not after.
3. Repair or Replace, Done to Spec
Repairs are executed with the correct fasteners, flashing, and sealant for the product involved, and matched as closely as possible in profile, texture, and color. Where full panel replacement makes more sense than a patch, we'll say so.
4. Final Weatherproofing Check
Before we consider the job finished, we check that every seam and penetration point in the repaired area is properly sealed against wind-driven rain — the same condition that likely contributed to the original damage.
Repair vs. Replacement: How We Help You Decide
| Factor | Repair Usually Makes Sense | Replacement Usually Makes Sense |
|---|---|---|
| Extent of damage | Isolated to one or a few panels | Spread across multiple walls or elevations |
| Moisture behind siding | None found on inspection | Present, especially with soft sheathing |
| Age of existing siding | Relatively young, still performing well elsewhere | Nearing or past expected service life |
| Material condition | Sound material, isolated impact or seam failure | Widespread delamination, swelling, or fastener corrosion |
| Color/profile match | Discontinued product still reasonably matchable | Product discontinued with no acceptable match |
There's no universal answer here — it genuinely depends on what we find during inspection. We'd rather recommend a smaller repair that solves the actual problem than sell a bigger job than the house needs.
What We Install When Replacement Is the Right Call
When a repair grows into a replacement — whether for a single wall section or a full re-side — we install James Hardie fiber cement siding exclusively. We don't install vinyl, LP SmartSide, Cemplank, Allura, or primed wood siding, and that's a deliberate standard, not an oversight.
In a coastal, high-UV, storm-exposed environment like Downtown Clearwater, the trade-offs of lower-cost siding materials show up faster than they would inland: vinyl can warp or crack under sustained heat and impact, engineered wood products are more vulnerable to sustained moisture exposure, and lower-grade fiber cement alternatives don't carry the same factory-applied finish warranty as James Hardie's ColorPlus technology. James Hardie's HZ5 product line is specifically engineered for hot, humid climates, and its non-combustible composition and factory finish hold up to the sun and salt air conditions this neighborhood deals with year-round. When we replace siding, that's what goes back on the wall.
Pre-Repair Checklist: What to Look For Before You Call
- Visible cracks, chips, or missing sections of siding
- Soft or spongy spots when gently pressed (a sign of possible moisture damage)
- Discoloration, staining, or streaking running down from seams or fasteners
- Caulk that's cracked, shrunk away from a joint, or missing entirely
- Panels that appear loose, warped, or slightly out of alignment
- Rust stains around nail heads or metal trim
- Any bubbling or peeling of the surface finish
If you notice any of these, it's worth having it looked at before the next round of storms rather than after. Small issues caught early are almost always cheaper and faster to address than damage that's had months to spread behind the wall.
Why a Locally Experienced Crew Matters for This Neighborhood
Siding repair in Downtown Clearwater isn't identical to siding repair in a landlocked part of the state. A crew that regularly works this area understands how salt exposure, UV intensity, and wind-driven rain interact with different siding systems here, and knows which failure points to check first. That local familiarity shortens the diagnostic process and helps make sure the repair addresses the actual cause of the damage — not just the visible symptom — the first time around.
If you're seeing damage, discoloration, or loose panels on your Downtown Clearwater home, we're happy to take a look and give you a straightforward, no-pressure estimate on what it would take to fix it right. There's no obligation — just an honest assessment of what your siding needs.